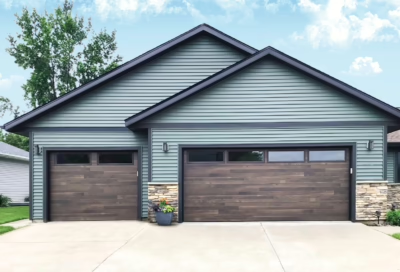
As temperatures drop, your garage door becomes more than just an entry point… it’s a critical barrier between your home and the elements. A poorly sealed or insulated garage door can lead to heat loss, moisture intrusion, and even damage to your vehicles and stored belongings.
Whether you live in a mild climate with chilly nights or face freezing temperatures and snow, winterizing your garage door is one of the smartest home maintenance tasks you can take on before the season sets in.
In this guide, we’ll walk you through the most effective ways to weatherproof your garage door for winter, with tips on insulation, sealing, maintenance, and more.
Why Weatherproofing Your Garage Door Matters
Your garage door is one of the largest moving parts of your home and one of the most vulnerable. Without proper weatherproofing, cold air, moisture, and pests can slip in, driving up energy bills and putting your comfort and property at risk.
Key benefits of weatherproofing include:
- Improved energy efficiency and lower utility costs
- Protection for vehicles and stored items from freezing temps
- Prevention of moisture damage, rust, and mold
- Reduced pest intrusions seeking warmth during winter
- Extended lifespan of the garage door and opener system
For homeowners with attached garages, the added insulation and sealing also help maintain indoor comfort by minimizing cold drafts that can seep into living spaces.
Step 1: Inspect for Existing Gaps and Damage
Before making upgrades, conduct a full inspection of your garage door and surrounding components.
Look for:
- Visible light around the sides, top, or bottom of the door
- Worn or cracked weatherstripping on the door edges or threshold
- Loose or broken panels, hinges, or tracks
- Drafts, moisture, or signs of rust or pests
Use a flashlight from inside the garage at night to help detect air or light leaks. Identifying problem areas helps you prioritize your fixes.
Step 2: Replace or Install Weatherstripping
Weatherstripping is your garage door’s first line of defense against winter air. Over time, the seals on the bottom and sides of the door can degrade or come loose, allowing drafts and moisture to sneak in.
Types of weatherstripping:
- Bottom seal: Flexible rubber or vinyl strip that compresses against the floor
- Side and top seals: Installed along the vertical tracks and top frame
- Threshold seal: Mounted directly on the floor to reinforce the bottom seal
Tip: Choose weatherstripping rated for extreme temperatures and moisture exposure. Be sure to clean and dry the area before applying new adhesive or mounting hardware.
Step 3: Add Garage Door Insulation
If your garage door isn’t insulated, or if the insulation is outdated or damaged, adding thermal protection can significantly improve energy efficiency and comfort.
Common insulation materials:
- Polystyrene panels: Lightweight and cost-effective
- Polyurethane foam: Higher R-value and noise reduction
- Reflective foil kits: Easy DIY installation for metal doors
Insulated doors are especially valuable in colder climates, as they help stabilize garage temperature and reduce the load on your HVAC system if the garage is attached to your home.
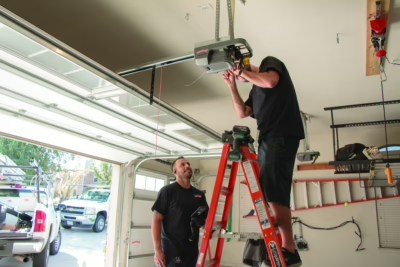
Step 4: Lubricate Moving Parts
Cold temperatures can thicken lubricants or cause metal components to contract, leading to stiffness, squeaking, or operational failure.
Key areas to lubricate:
- Hinges
- Rollers
- Springs
- Tracks
- Bearing plates
Use a silicone-based lubricant or garage door-specific oil. Avoid heavy grease, which can harden in cold weather. Proper lubrication not only improves performance but also prevents premature wear caused by cold-induced friction.
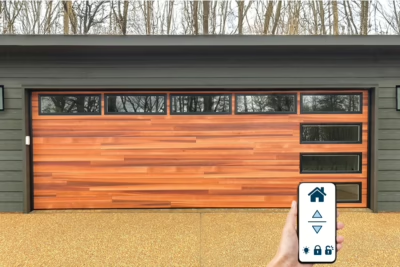
Step 5: Check and Seal the Garage Door Opener Housing
While often overlooked, the garage door opener motor and housing are also vulnerable to winter issues. Cold air entering through unsealed garage doors can affect motor performance or cause condensation on electrical components.
- Inspect for cracks in the opener housing
- Ensure mounting brackets are tight
- If necessary, add a thermal wrap or insulation blanket around the opener (ensure this doesn’t block vents)
Step 6: Consider a Heater or Dehumidifier (Optional)
In colder regions or garages that double as workshops, installing a small garage heater or portable dehumidifier can help regulate the environment. This is especially useful if you store:
- Tools and paints
- Electronics
- Exercise equipment
- Batteries or liquids that are sensitive to freezing
Just be sure your garage is properly sealed and insulated before investing in a heating or drying solution.
Real-World Example: Weatherproofing in Akron, OH
A homeowner in Akron — a DuraServ service area known for its cold, wet winters — noticed water pooling inside their garage during rain and early frosts. Their garage door had visible light leaks along the sides, and the rubber bottom seal was brittle and cracked.
DuraServ technicians:
- Replaced the worn bottom seal with a flexible EPDM weatherstrip
- Installed new side seals and threshold bumpers
- Added polystyrene panel insulation to the inside of the steel garage door
- Lubricated all moving parts and tested opener functionality
The result? The garage stayed dry, warmer, and more comfortable throughout the winter along with reduced noise and lower heating bills.
Schedule a Garage Door Winterization Checkup with DuraServ
Weatherproofing your garage door is a simple but highly effective way to prepare your home for winter. From sealing and insulation to proper maintenance, a little attention now can save you from bigger problems when temperatures drop.
If you’re unsure where to start or want to ensure your garage is fully winter-ready, the team at DuraServ can inspect your door and provide professional recommendations tailored to your climate, door type, and home needs.